In this post, I’ll be sharing my very first steps into the world of ClickHouse - a powerful, column-oriented database that’s designed for lightning-fast analytical queries. As someone who’s relatively new to this technology, my goal is to demystify ClickHouse and provide a gentle, hands-on guide to setting up and using it with Docker.
In the following sections, I’ll walk you through the process of running a demo locally, explain some of the important configuration details, and show you how to create and work with a simple table. Whether you’re just starting out or looking for a friendly introduction to ClickHouse, I hope this journey proves helpful and inspiring.
I originally wrote and published this article on DevGenius.
What is ClickHouse?
ClickHouse is an open-source, column-oriented database management system (DBMS) designed for online analytical processing (OLAP). Originally developed at Yandex, ClickHouse has quickly become popular for its ability to process billions of rows per second and its high-performance capabilities on large datasets.
Key features
- Columnar storage: Data is stored by column rather than by row, allowing for efficient compression and faster query performance, particularly in analytical workloads.
- Real-time analytics: Designed to handle real-time data analysis, ClickHouse excels at running complex queries on large datasets in near real time.
- Scalability: Whether you are dealing with terabytes or petabytes of data, ClickHouse scales horizontally and vertically.
- Fault tolerance: With robust replication and distributed processing capabilities, ClickHouse aims for high availability and data integrity.
- SQL support: Although it is built for high performance, ClickHouse supports a dialect of SQL, making it accessible to users familiar with relational databases.
For more information on its features and history, visit the official ClickHouse website.
Getting started: running the demo locally
This demo project is built using Docker Compose. Our project includes three key files:
docker-compose.yml- Defines the ClickHouse service, its environment, port mappings, and volumes.clickhouse/config/users.xml- Configures ClickHouse settings, including JSON type support.clickhouse/init/init.sql- Contains the SQL DDL for creating theentitiestable.
1. Clone the repository
Begin by cloning the repository that contains the project files:
git clone https://github.com/RafaelAdao/cdp-clickhouse.git
cd cdp-clickhouse
2. Examine the project structure
Your project directory should look similar to this:
cdp-clickhouse/
├── clickhouse
│   ├── config
│   │   └── users.xml
│   └── init
│       └── init.sql
├── docker-compose.yml
├── examples.sql
└── README.md
3. Review the Docker Compose file
Here is an excerpt of our docker-compose.yml:
version: '3.8'

services:
  clickhouse:
    image: clickhouse
    container_name: clickhouse
    ports:
      - "18123:8123"
      - "19000:9000"
    environment:
      - CLICKHOUSE_PASSWORD=changeme
    volumes:
      - ./clickhouse/config/users.xml:/etc/clickhouse-server/users.xml:ro
      - ./clickhouse/init/init.sql:/docker-entrypoint-initdb.d/init.sql:ro
      - clickhouse_data:/var/lib/clickhouse

volumes:
  clickhouse_data:
This configuration does the following:
- Ports: Maps container ports (8123 for HTTP and 9000 for native TCP) to your local machine.
- Environment variables: Sets a default password (
changeme) for accessing ClickHouse. - Volumes: Mounts local configuration and initialization files into the container and persists data with a Docker volume.
4. Start the container
Run the following command to start the container:
docker compose upThis command will download the ClickHouse image (if not already available), start the container, and execute the initialization SQL script, which creates the entities table in the default database.
5. Accessing ClickHouse
Once the container is running, you can access ClickHouse via:
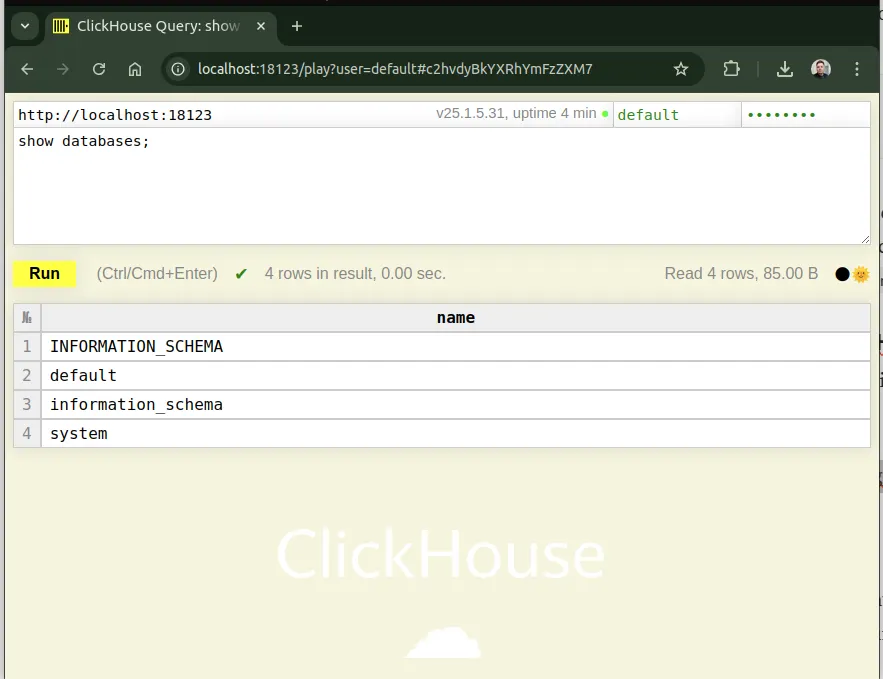
- HTTP interface: Open http://localhost:18123/play?password=changeme in your browser to use the web interface.
- ClickHouse client: Using
clickhouse-clientvia Docker:
docker exec -it clickhouse clickhouse-client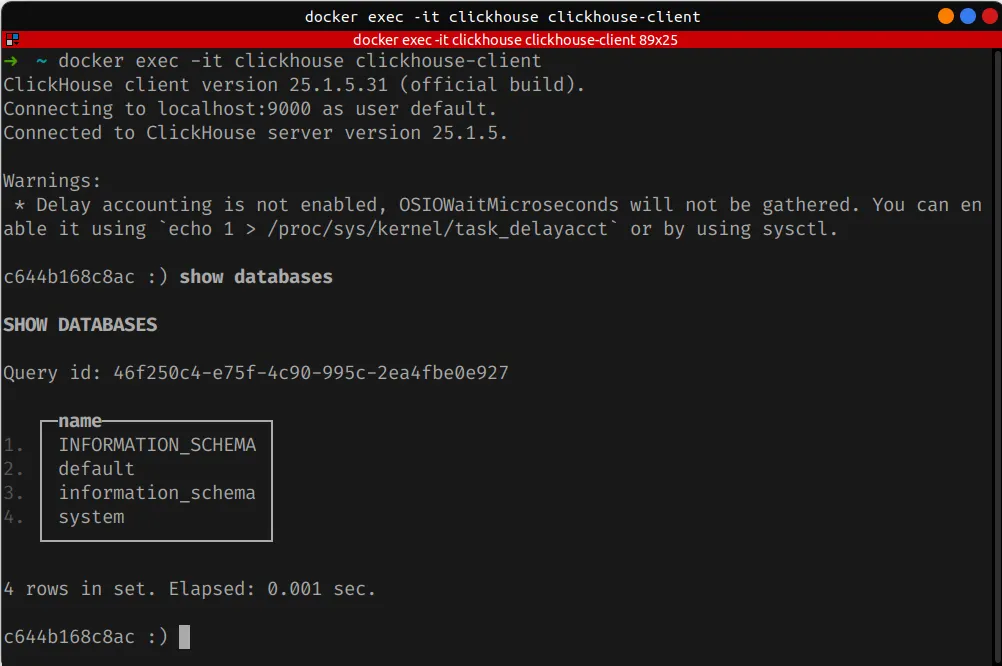
For additional details on connecting to ClickHouse, see the ClickHouse interface documentation.
Understanding the configuration: users.xml
The users.xml file located at clickhouse/config/users.xml is used to configure various settings for users connecting to ClickHouse. One critical configuration in our demo is the <enable_json_type>1</enable_json_type> flag.
By the time of this post (2025-02-22), ClickHouse does not enable JSON type support by default. This XML flag in the configuration file ensures that JSON data can be efficiently stored, processed, and queried within ClickHouse. Here’s why it is significant:
- Native JSON handling: Enabling the JSON type allows ClickHouse to understand and operate on JSON data. This can be particularly useful when ingesting semi-structured data or when your application data model relies on JSON.
- Improved performance: With native JSON support, ClickHouse can parse and process JSON columns more efficiently than if JSON were handled as plain strings.
- Enhanced functionality: You can use JSON-specific functions and operators to query JSON documents, extract values, and even perform transformations directly within SQL queries.
Below is the relevant snippet from users.xml:
<yandex>
    <users>
        <default>
            <profile>default</profile>
            <networks>
                <ip>::/0</ip>
            </networks>
        </default>
    </users>

    <profiles>
        <default>
            <enable_json_type>1</enable_json_type>
        </default>
    </profiles>
</yandex>
For more details on JSON support in ClickHouse, check out the JSON documentation.
Deep dive: the DDL of the entities table
The core of our demo project is the creation of the entities table, defined in clickhouse/init/init.sql. Here is the complete DDL:
CREATE TABLE entities
(
    tenant_id UInt32,
    entity_id String,
    properties JSON,
    event_time DateTime64(6),
    version UInt64 MATERIALIZED toUnixTimestamp64Nano(event_time)
)
ENGINE = ReplacingMergeTree(version)
ORDER BY (tenant_id, entity_id);
This DDL is designed to handle multi-tenant data storage with a built-in mechanism for versioning and deduplication. Let’s break down each component.
Data types explained
tenant_id UInt32: Represents the tenant identifier in a multi-tenant architecture.entity_id String: Holds the unique identifier for an entity within a tenant.properties JSON: Stores additional properties of an entity in JSON format.event_time DateTime64(6): Captures the timestamp for the event associated with the entity.version UInt64 MATERIALIZED toUnixTimestamp64Nano(event_time): A computed column that represents the event time as a Unix timestamp in nanoseconds. TheMATERIALIZEDkeyword tells ClickHouse to compute and store the value of this column automatically, usingtoUnixTimestamp64Nanoto convertevent_timeinto a Unix timestamp with nanosecond precision.
The role of the MATERIALIZED column
The computed version column serves two key purposes:
- Versioning: By converting the event time into a numerical value, you can track the “version” of a record. This is especially useful when multiple updates to a record need to be merged.
- Deduplication: When used in combination with the
ReplacingMergeTreeengine, theversioncolumn helps deduplicate rows. Records with the same primary key can be merged, keeping only the row with the highest version value.
For a deeper understanding of materialized columns in ClickHouse, see the materialized columns documentation.
We’ll explore the ReplacingMergeTree engine in more detail later in this post, as it plays a crucial role in how updates and merges are handled efficiently.
Engine settings: ORDER BY and ReplacingMergeTree
ClickHouse is designed with performance in mind. One important feature that drives query performance is the ORDER BY clause.
Why ORDER BY (tenant_id, entity_id)?
The ORDER BY clause in the table definition serves as the primary key for ClickHouse’s storage engine. It dictates the order in which data is stored on disk.
- Efficient data retrieval: By ordering data first by
tenant_idand then byentity_id, queries that filter by these columns can take advantage of index skipping. This significantly speeds up data retrieval. - Minimized disk seeks: Sorted data reduces the number of disk seeks during query execution. This is particularly beneficial for analytical queries that scan large amounts of data.
- Multi-tenancy optimization: Since our demo is designed for a multi-tenant environment, sorting by
tenant_idensures that data for each tenant is stored contiguously, which results in faster queries for tenant-specific data.
For more on optimizing queries using the ORDER BY clause, refer to the optimization of data reading docs.
Why ENGINE = ReplacingMergeTree(version)?
The ReplacingMergeTree engine is an extension of the standard MergeTree family designed for scenarios where you might have duplicate or versioned records. Here’s why it is ideal for our use case:
- Automatic deduplication: The engine automatically replaces older rows with newer ones based on the provided version column. In our case, the
versioncolumn (computed as the Unix timestamp in nanoseconds) determines the “freshness” of the record. - Efficient data merging: When multiple versions of the same record exist, the engine merges them during background processes so that your dataset contains only the most recent and relevant data.
- Simplified data updates: Traditional SQL databases use
UPDATEandDELETEstatements, but ClickHouse is designed for append-only operations. WithReplacingMergeTree, you can “modify” data by inserting a new version of a record, and the engine takes care of the replacement.
For further reading on ReplacingMergeTree and its use cases, visit the ClickHouse ReplacingMergeTree engine documentation.
Practical examples
Now that we’ve covered the theory behind the configuration and DDL, let’s explore some practical examples that demonstrate how to interact with the entities table.
Inserting data into the entities table
Below is an example SQL statement to insert data into the entities table. We will include JSON data in the properties column and provide sample timestamps.
INSERT INTO entities (tenant_id, entity_id, properties, event_time)
VALUES
(1, 'entity_001', '{"name": "Acme Corporation", "status": "active"}', '2025-02-22 15:30:00.123456'),
(1, 'entity_002', '{"name": "Beta LLC", "status": "inactive", "score": 87}', '2025-02-22 16:00:00.654321'),
(2, 'entity_003', '{"name": "Gamma Inc.", "status": "active", "metrics": {"clicks": 1023, "views": 2048}}', '2025-02-22 17:15:00.000000');
Data mapping:
tenant_ididentifies which tenant the entity belongs to.entity_iduniquely identifies each entity.propertiesstores a JSON object.event_timecaptures the event’s timestamp with microsecond precision.- The
versioncolumn is automatically computed usingtoUnixTimestamp64Nano(event_time).
Use the Accessing ClickHouse section to run the insert statements. The data will be inserted, and the background process of ReplacingMergeTree will use the version column for any potential deduplication in the future.
Example 1: retrieve all entities for a tenant
SELECT tenant_id, entity_id, properties, event_time, version
FROM entities
WHERE tenant_id = 1;
┌─tenant_id─┬─entity_id──┬─properties───────────────────────────────────────────┬─────────────────event_time─┬─────────────version─┐
1. │ 1 │ entity_001 │ {"name":"Acme Corporation","status":"active"} │ 2025-02-22 15:30:00.123456 │ 1740238200123456000 │
2. │ 1 │ entity_002 │ {"name":"Beta LLC","score":"87","status":"inactive"} │ 2025-02-22 16:00:00.654321 │ 1740240000654321000 │
└───────────┴────────────┴──────────────────────────────────────────────────────┴────────────────────────────┴─────────────────────┘Example 2: query and extract JSON properties
If you want to query the JSON data within the properties column, you can simply access nested property names:
SELECT
    entity_id,
    properties.name,
    properties.status
FROM entities
WHERE properties.status = 'active';
┌─entity_id──┬─name─────────────┬─status─┐
1. │ entity_001 │ Acme Corporation │ active │
2. │ entity_003 │ Gamma Inc. │ active │
└────────────┴──────────────────┴────────┘Example 3: query with date and time functions
You might also need to analyze events based on time:
SELECT
    tenant_id,
    toDate(event_time) AS event_date,
    count(*) AS events_count
FROM entities
GROUP BY tenant_id, event_date
ORDER BY tenant_id, event_date;
┌─tenant_id─┬─event_date─┬─events_count─┐
1. │ 1 │ 2025-02-22 │ 2 │
2. │ 2 │ 2025-02-22 │ 1 │
└───────────┴────────────┴──────────────┘Modifying data in the entities table
ClickHouse is designed as an append-only system, so instead of performing in-place updates, you typically insert a new row with the same primary key values (i.e., same tenant_id and entity_id) along with a new event_time. The ReplacingMergeTree engine then uses the version column to determine which record is the latest.
Example: updating an entity
Suppose you need to update the status of an entity from inactive to active. Instead of an UPDATE statement, you would insert a new record:
INSERT INTO entities (tenant_id, entity_id, properties, event_time)
VALUES
(1, 'entity_002', '{"name": "Beta LLC", "status": "active", "score": 87}', '2025-02-22 18:00:00.000000');
How it works:
- The new record for
entity_002is inserted with a laterevent_timethan the original record. - The
versioncolumn is recalculated automatically. - During background merges, the
ReplacingMergeTreeengine keeps the row with the highestversion, effectively “updating” the record.
Now, when you query the data, two rows for entity_002 can exist:
SELECT
    entity_id,
    properties,
    event_time,
    version
FROM entities
WHERE tenant_id = 1 AND entity_id = 'entity_002';
┌─entity_id──┬─properties───────────────────────────────────────────┬─────────────────event_time─┬─────────────version─┐
1. │ entity_002 │ {"name":"Beta LLC","score":"87","status":"active"} │ 2025-02-22 18:00:00.000000 │ 1740247200000000000 │
2. │ entity_002 │ {"name":"Beta LLC","score":"87","status":"inactive"} │ 2025-02-22 16:00:00.654321 │ 1740240000654321000 │
└────────────┴──────────────────────────────────────────────────────┴────────────────────────────┴─────────────────────┘This happens because ReplacingMergeTree does not perform in-place updates. Instead, when you insert a new record with an updated event_time (and therefore a higher computed version), both the old and new records temporarily coexist in the table. The engine performs background merge operations that deduplicate rows based on the primary key and the associated version value.
During these background merges, ClickHouse examines rows with identical primary keys (in this case, tenant_id and entity_id) and keeps only the row with the highest version. Although your query may immediately show two records for entity_002, the merge process will eventually discard the older record with the lower version. This mechanism allows ClickHouse to handle updates in an append-only manner without the overhead of conventional UPDATE operations.
For a deeper understanding of how these merge processes work, see the ClickHouse merges documentation.
It’s also helpful to get familiar with the core concepts of ClickHouse, as they provide the foundation for how everything fits together.
You can use the FINAL modifier to force ClickHouse to apply deduplication immediately during query execution, instead of waiting for background merges. This ensures that only the latest version of each record is returned.
SELECT
    entity_id,
    properties,
    event_time,
    version
FROM entities FINAL
WHERE tenant_id = 1 AND entity_id = 'entity_002';
┌─entity_id──┬─properties─────────────────────────────────────────┬─────────────────event_time─┬─────────────version─┐
1. │ entity_002 │ {"name":"Beta LLC","score":"87","status":"active"} │ 2025-02-22 18:00:00.000000 │ 1740247200000000000 │
└────────────┴────────────────────────────────────────────────────┴────────────────────────────┴─────────────────────┘How FINAL works:
- The
FINALmodifier forces ClickHouse to apply ReplacingMergeTree deduplication logic on the fly. - Instead of returning both versions of
entity_002, the query returns only the record with the highestversion. - This is useful when you need up-to-date results but background merges haven’t completed yet.
⚠️ Performance consideration: Using FINAL can be expensive because it requires ClickHouse to process all table parts at query time. If you’re dealing with large datasets, it’s better to rely on natural background merges whenever possible.
For more details, see again the ClickHouse merges documentation.
Conclusion
Thank you for taking the time to explore this guide on ClickHouse with me. I hope this introduction has made the concepts feel a little less daunting and sparked some curiosity about what you can build with ClickHouse.
As I continue learning, the GitHub repository may evolve and look a little different from this blog post. I’ll refine the setup, experiment with new ideas, and make adjustments based on what I discover along the way. Feel free to check it out, contribute, or share your own insights.
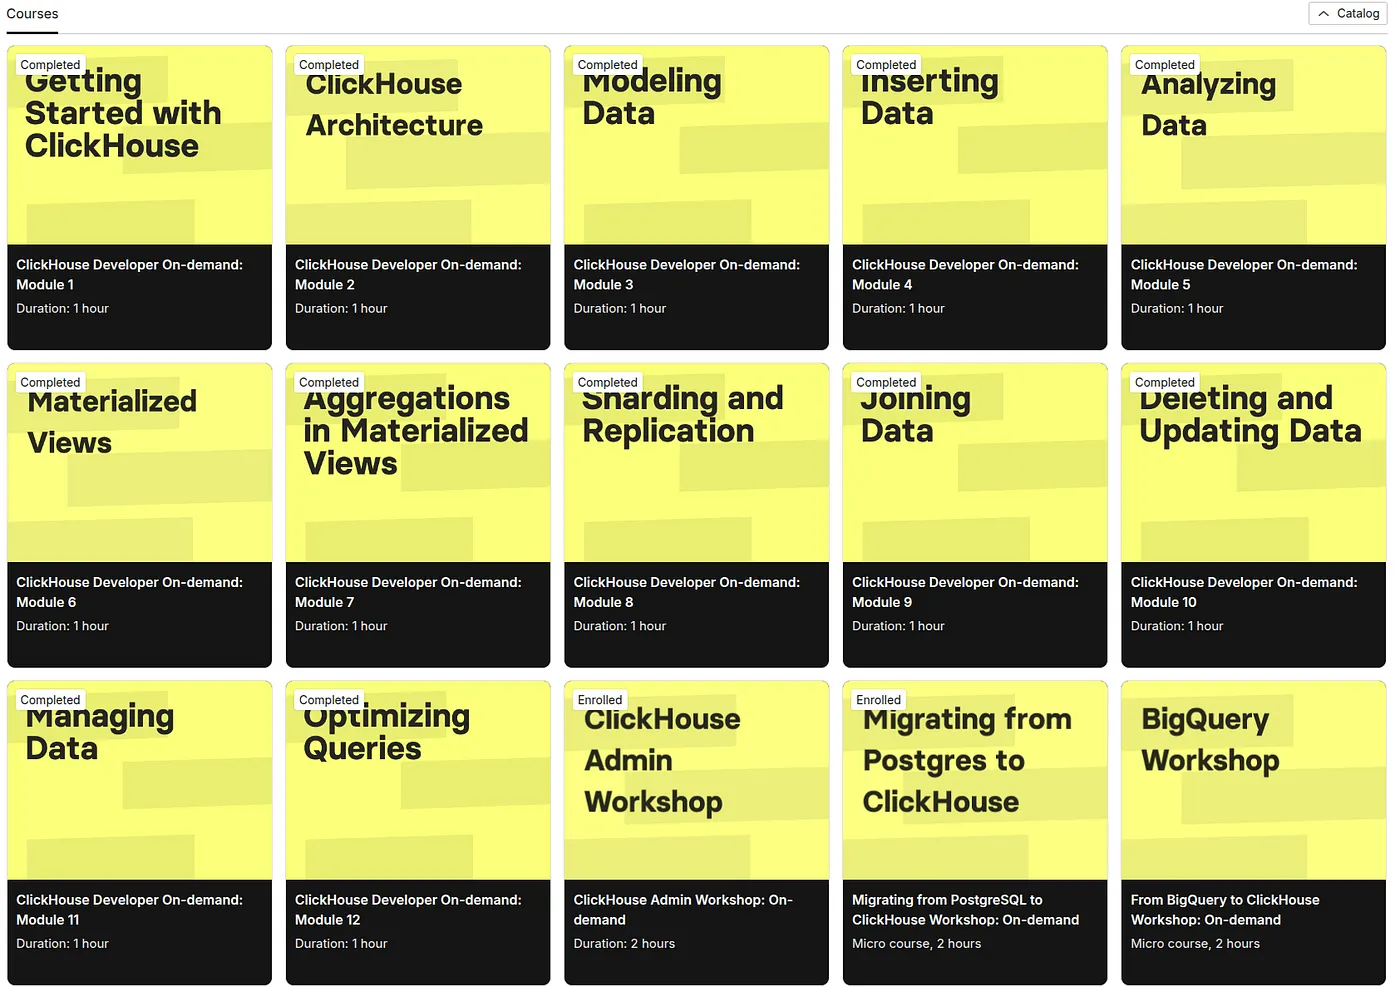
Keep learning
If you’re interested in diving deeper into ClickHouse, I highly recommend ClickHouse Learn - interactive courses, tutorials, and hands-on exercises.